Azure DevOps: Integrate Key Vault Secrets with Local Self-Hosted Agent
Summary:
The article discusses the integration of Azure Key Vault secrets into Azure Pipelines using a Self-hosted Local Agent for enhanced security and efficiency in CI/CD processes. It emphasizes the importance of protecting sensitive information during development and introduces Azure Key Vault as a solution. The article guides users through configuring permissions, authentications, and service connections to seamlessly access secrets in pipelines. The use of Self-hosted Local Agents ensures control over the environment, contributing to a more secure and streamlined CI/CD workflow. Overall, the article provides a comprehensive step-by-step guide for implementing this integration to bolster the security of the development lifecycle.
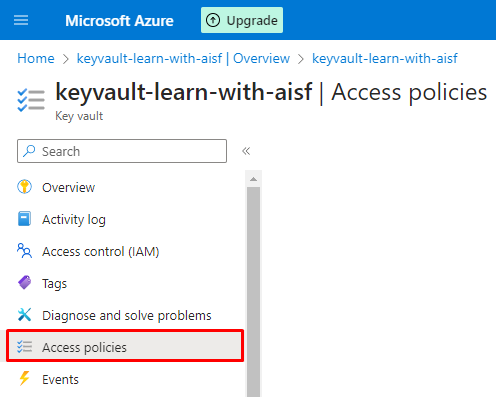
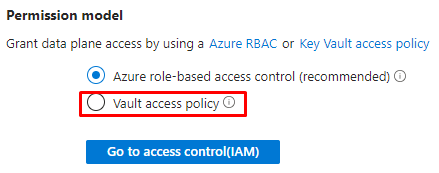
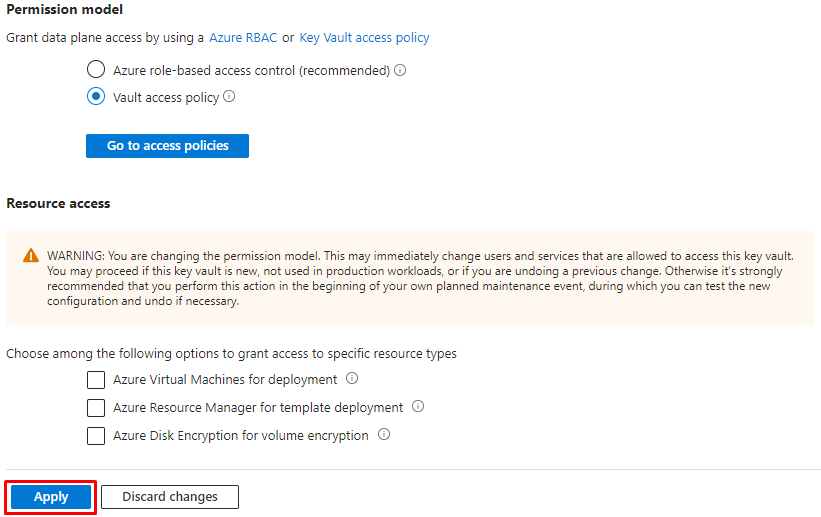
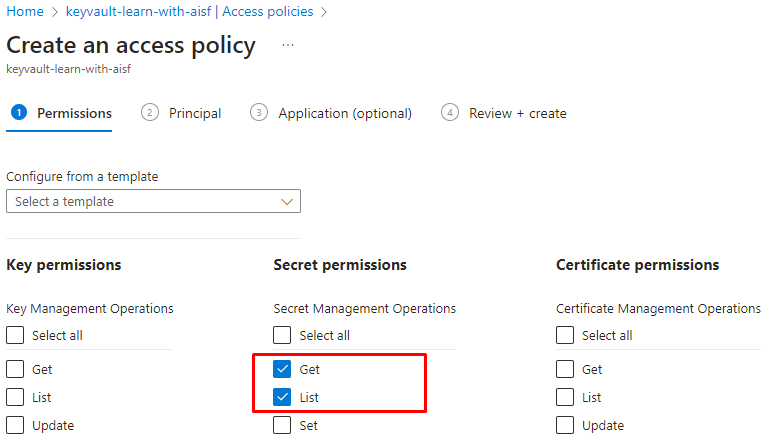
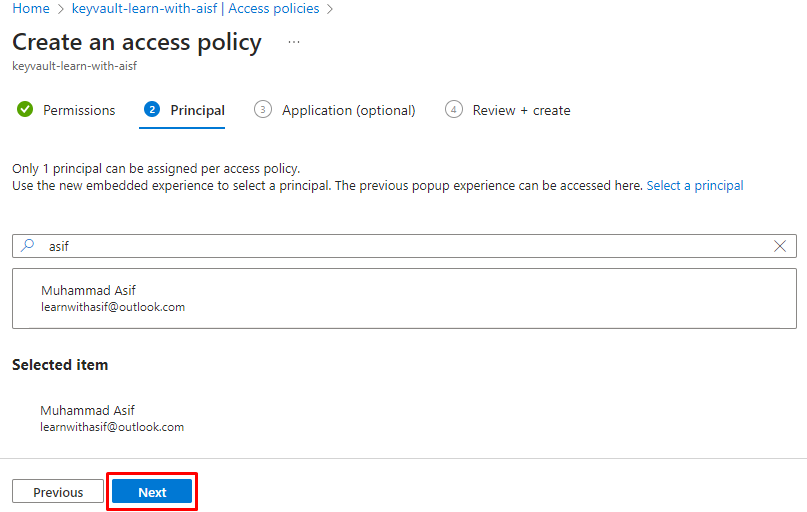
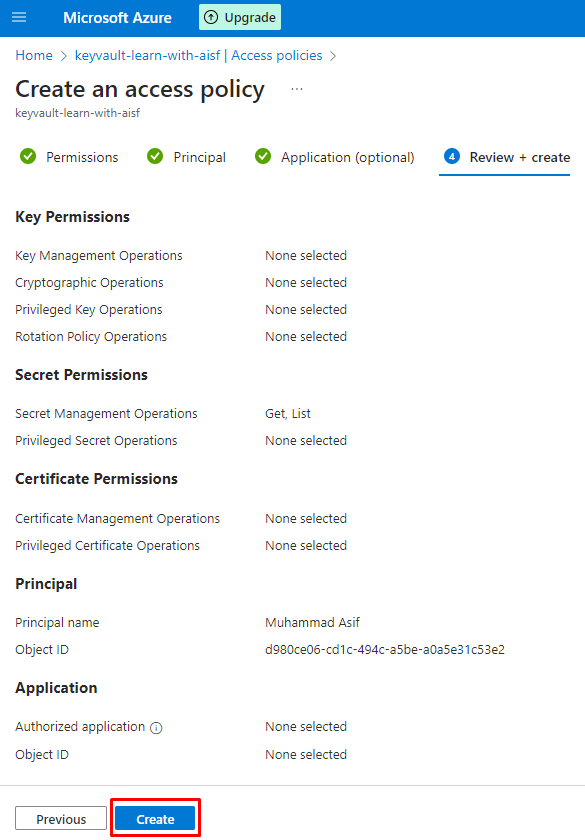
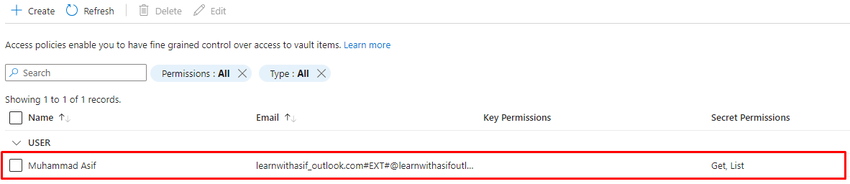
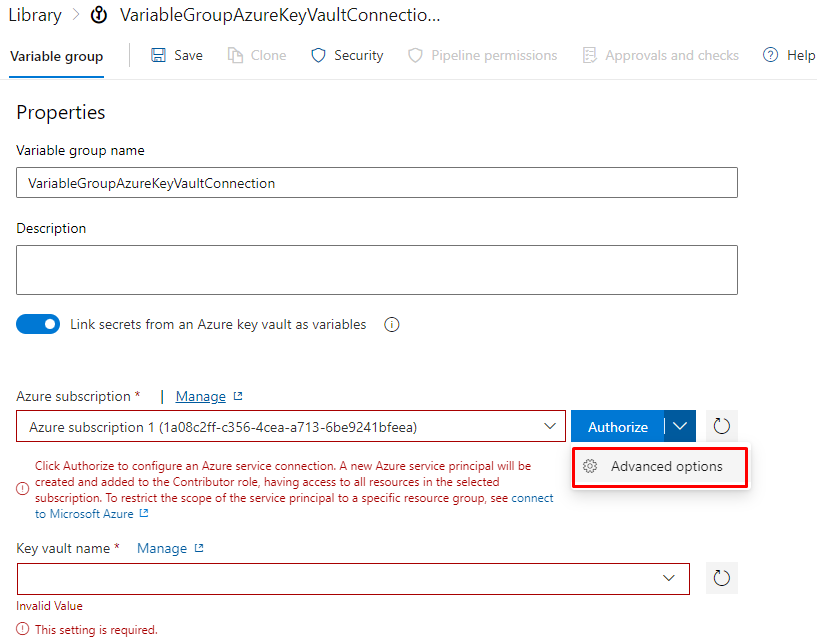
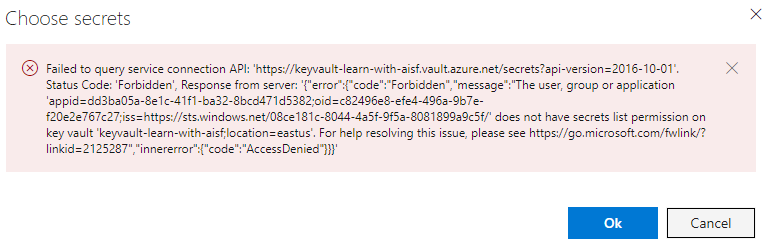
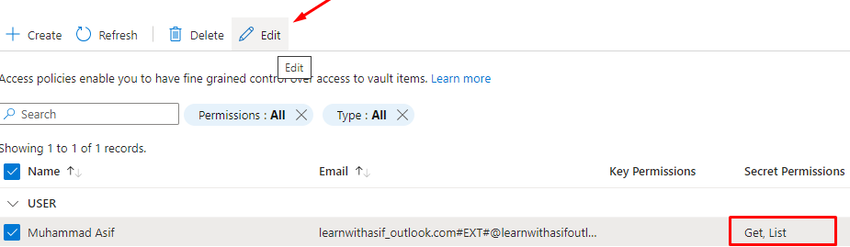
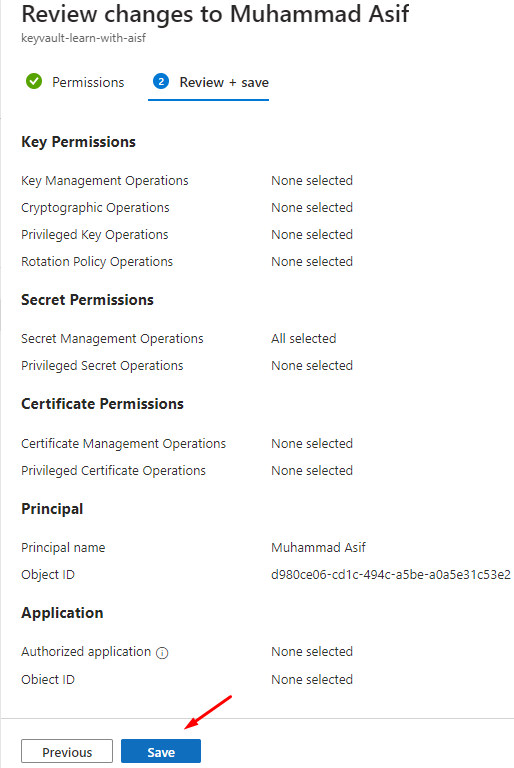
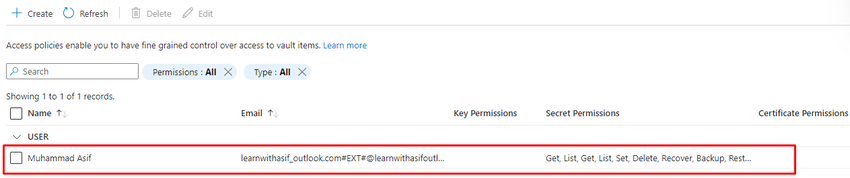
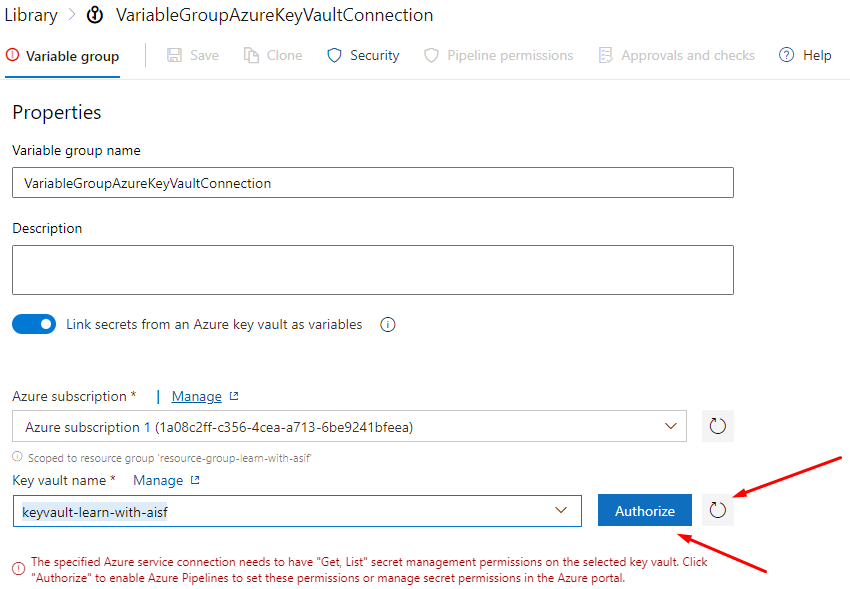
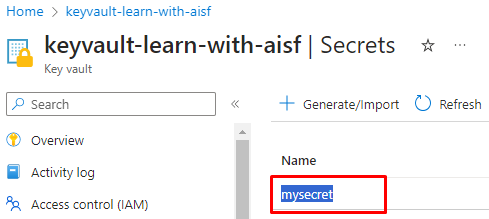
After creating the Key vault you need to manage the Access Policy.
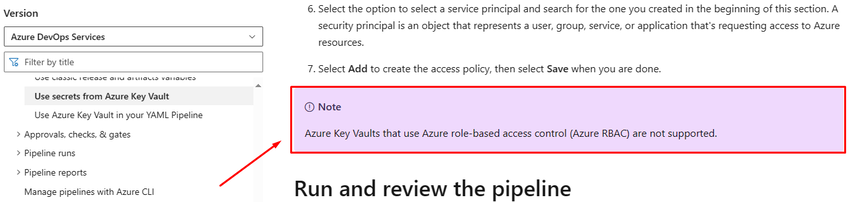
Note. Key vault secret should have configured Access Policy because it does not allow Role Based Access Control (RBAC) as per Microsoft Documentation Key Vault secrets in Azure Pipelines.
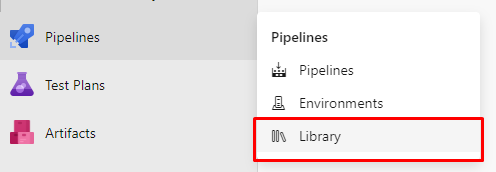
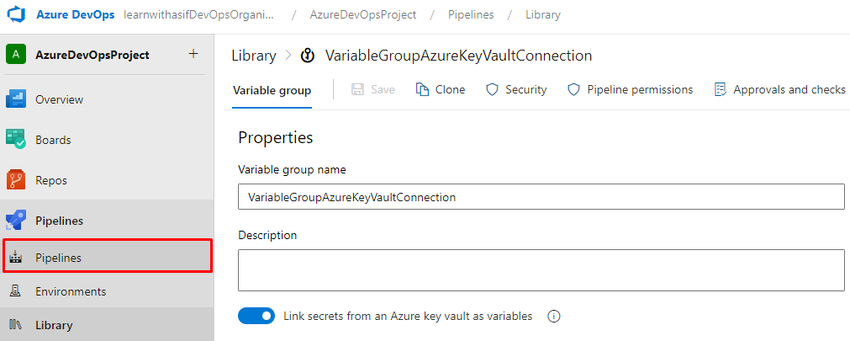
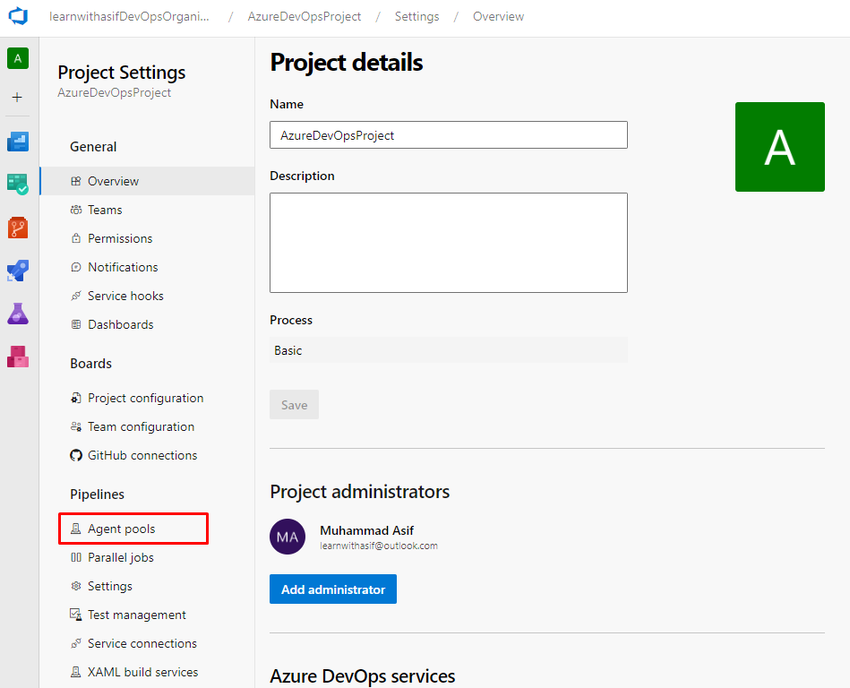
Go to the project setting for configuring Self-Hosted Agent in the pool
Select Agent Pools
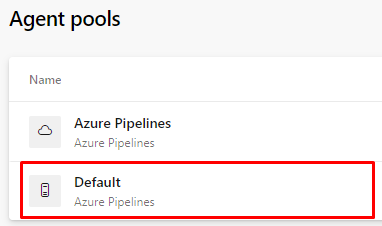
Select Default
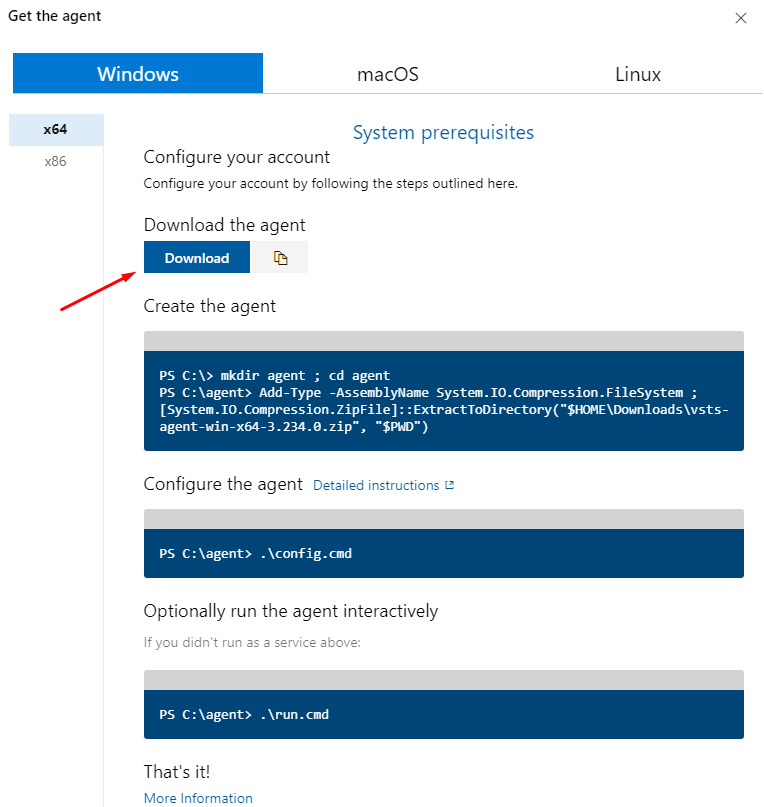
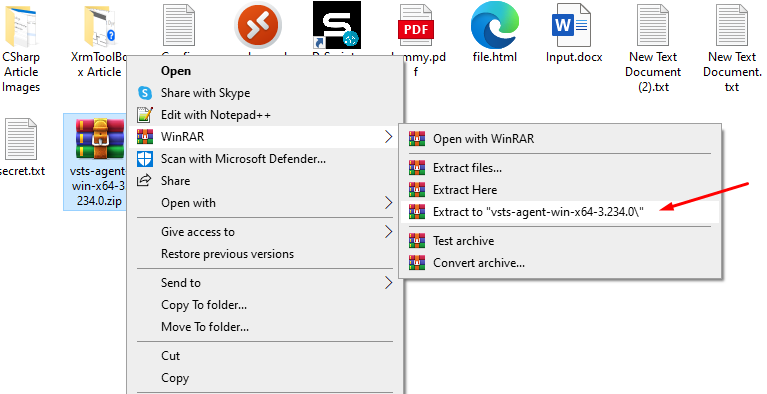
Click to download the agent in your local environment.
Extract the folder
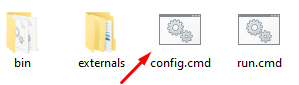
Double-click on config.cmd file
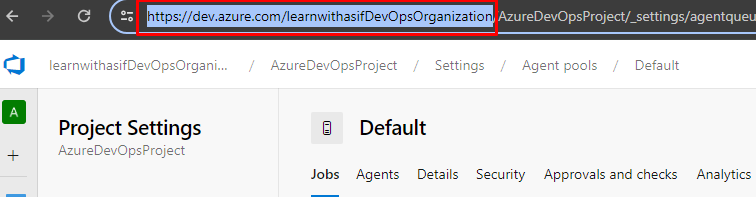
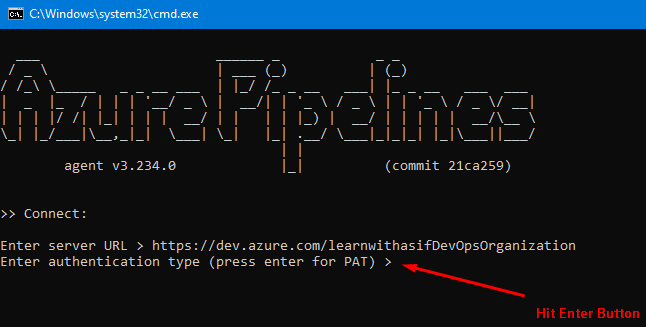
Copy the URL as highlighted.
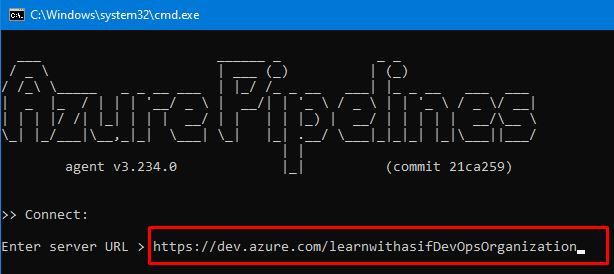
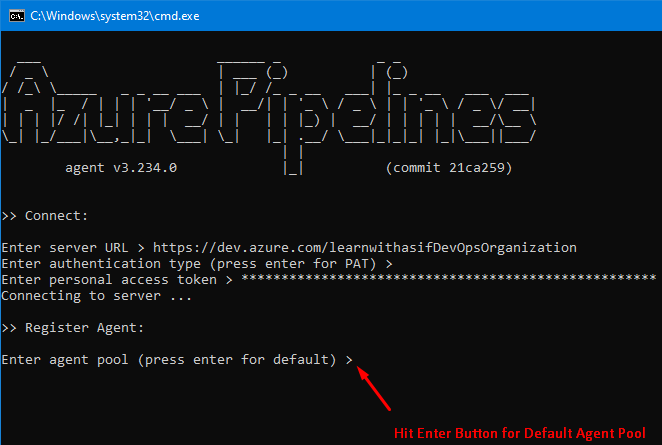
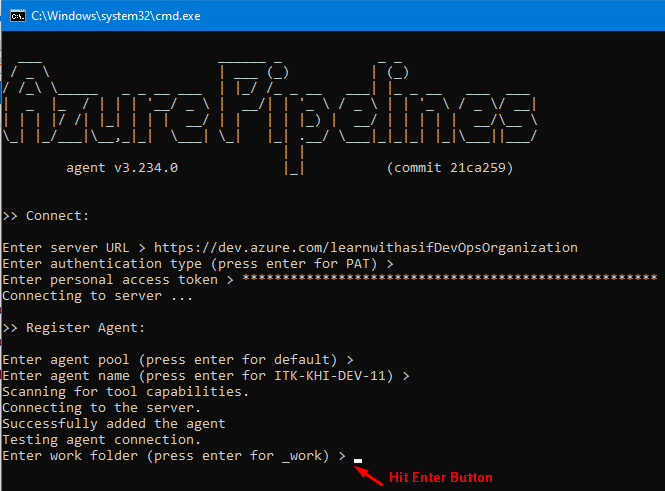
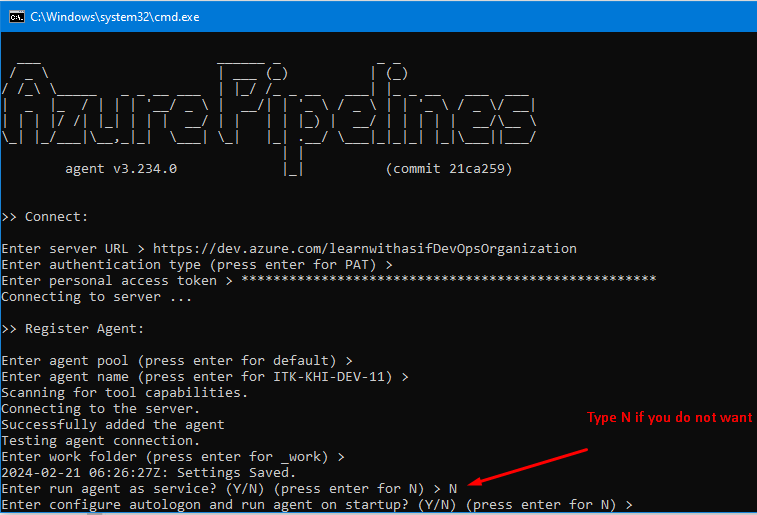
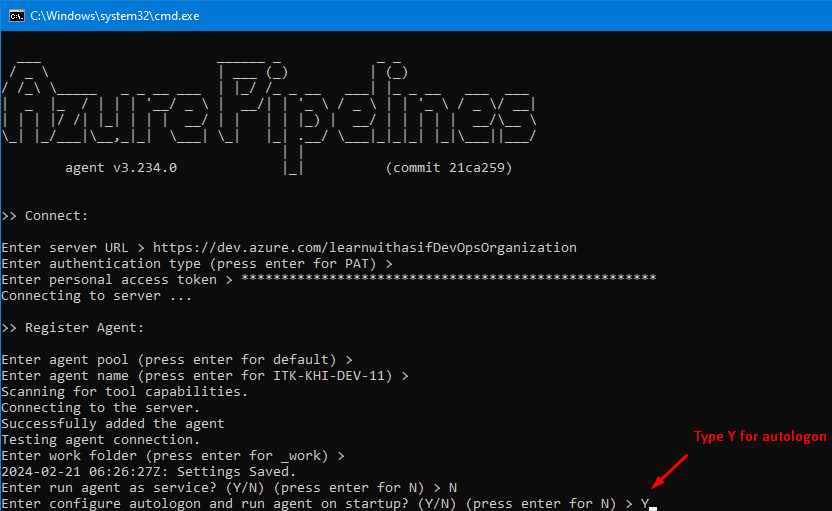
Paste in the CMD and follow the steps
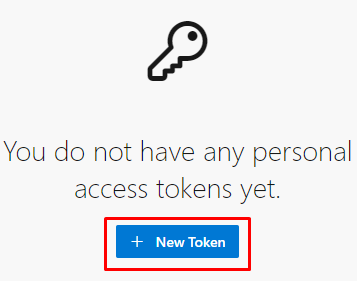
Go to the Azure DevOps portal and click on it to create a Personal Access Token.
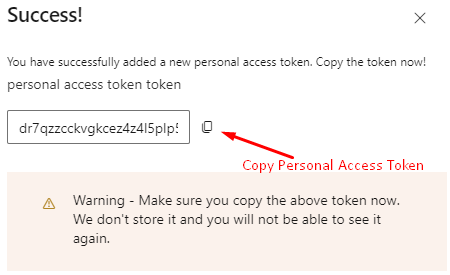
Copy the Personal Access Token here else you will not be able to see it again.
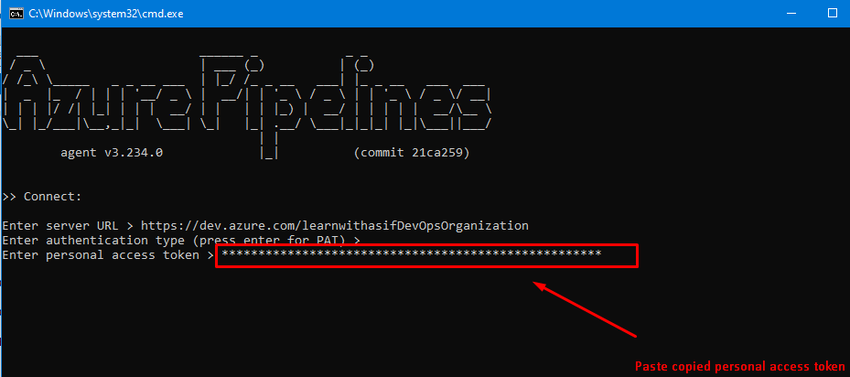
Paste the copied Personal Access Token into CMD
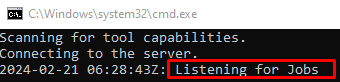
Now double click on run.cmd
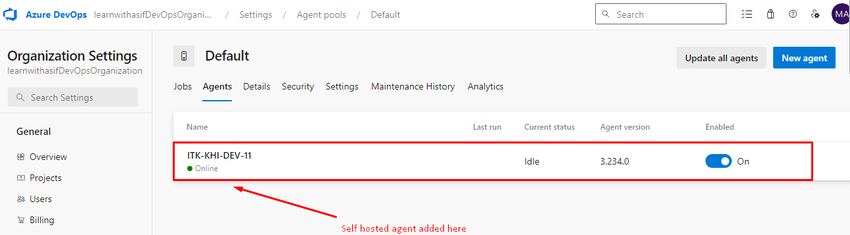
Now go to Azure DevOps Portal click on the Agent Pools and click on Default Agent then you can see that it is running and Online
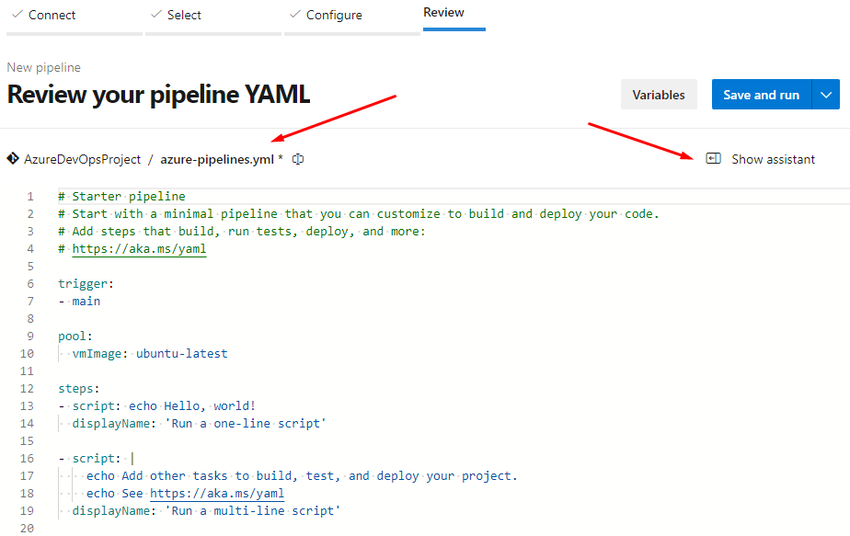
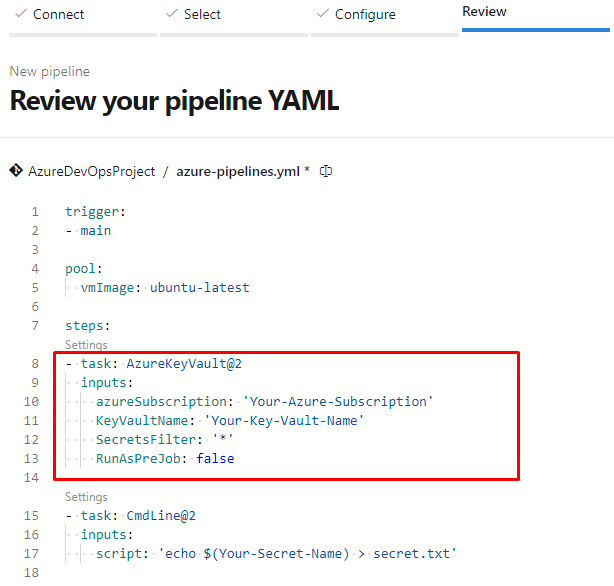
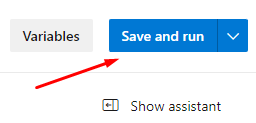
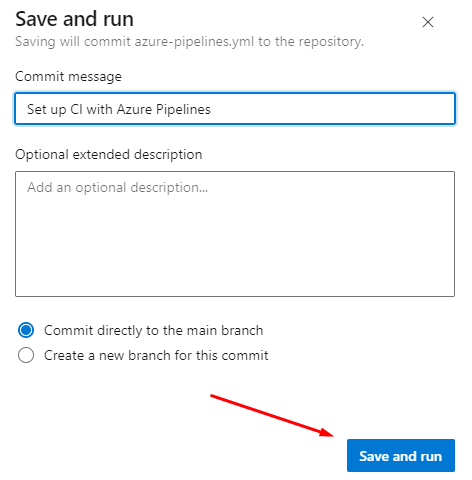
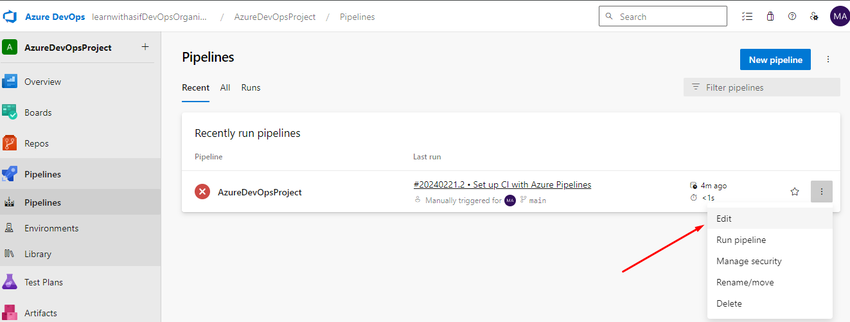
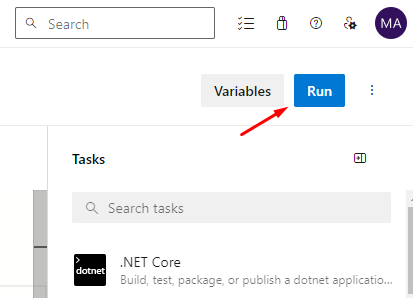
Now go to pipeline and click on Edit
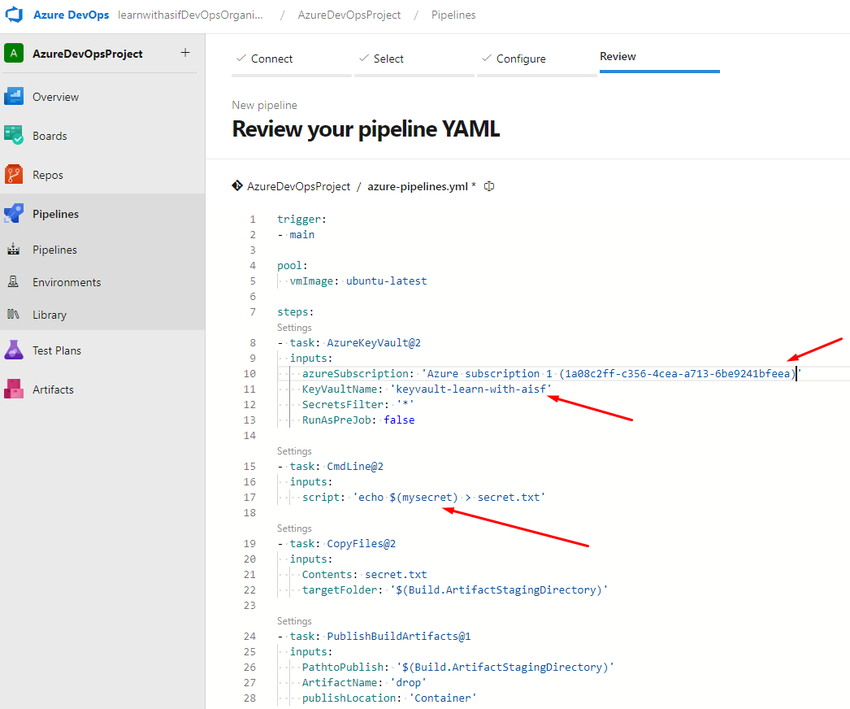
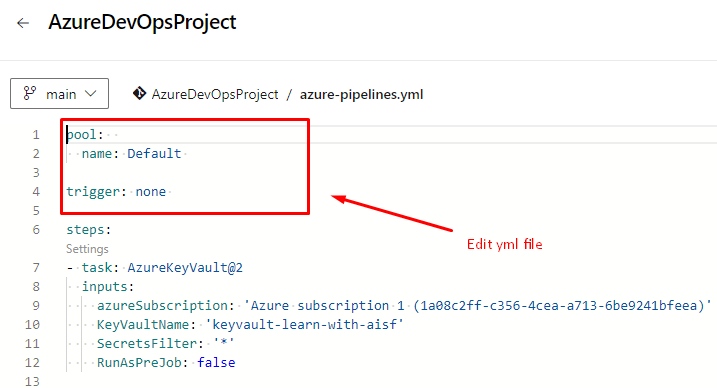
Now edit the YAML file and change with the highlighted values.
If you see the highlighted line then view and permit
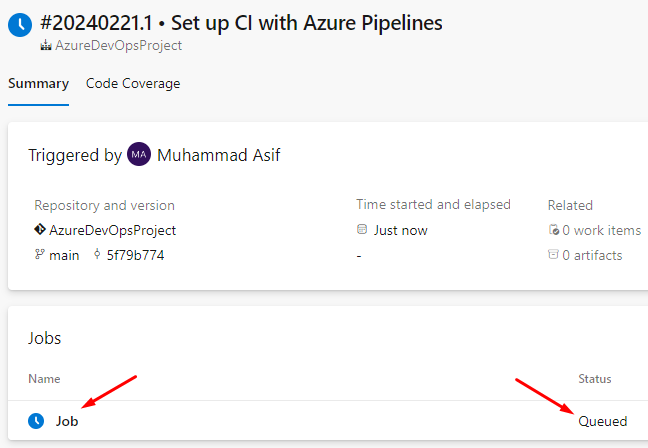
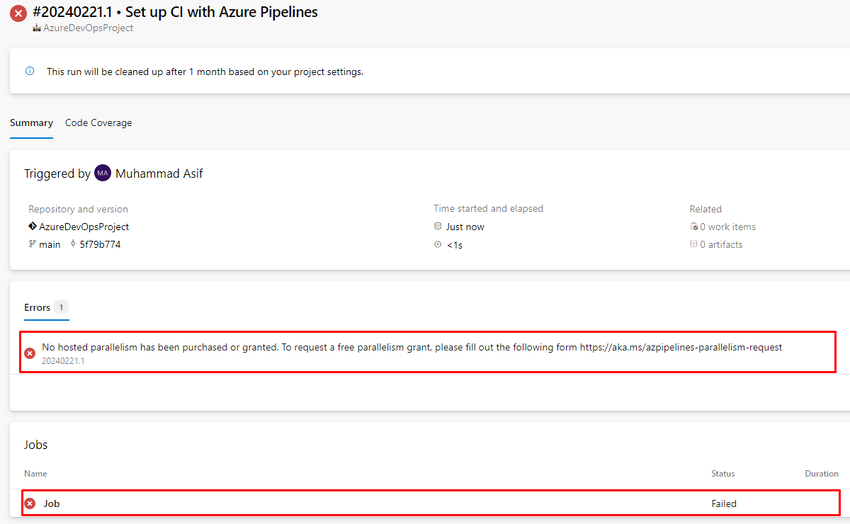
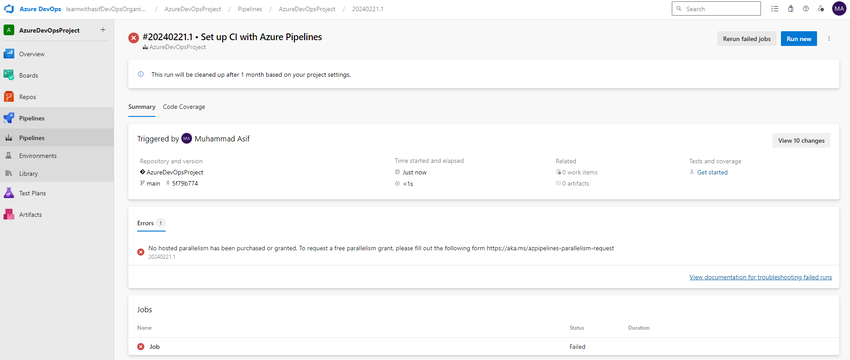
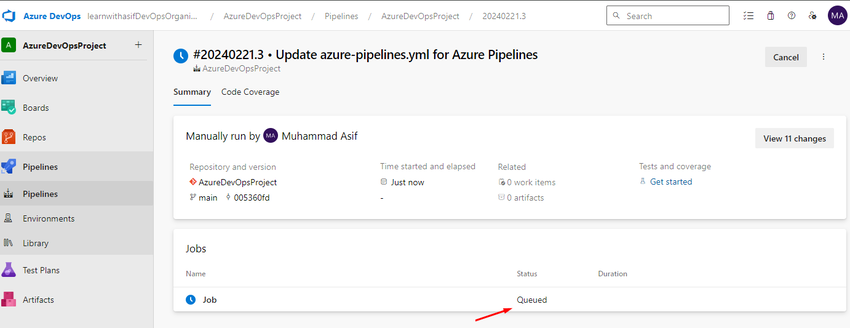
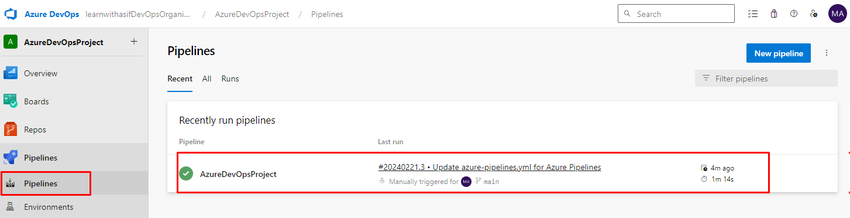
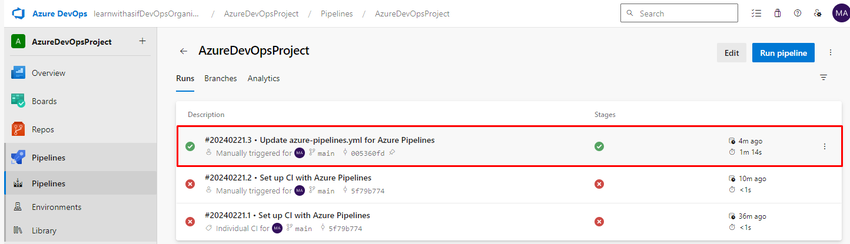
Now pipeline has been executed successfully
Now you can see the pipeline execution details.
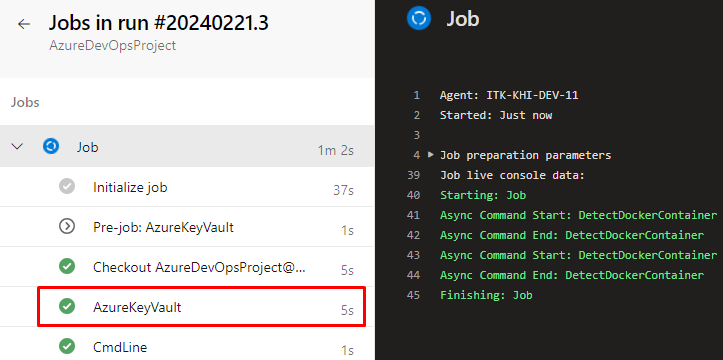
Now go to the executed job and click on it
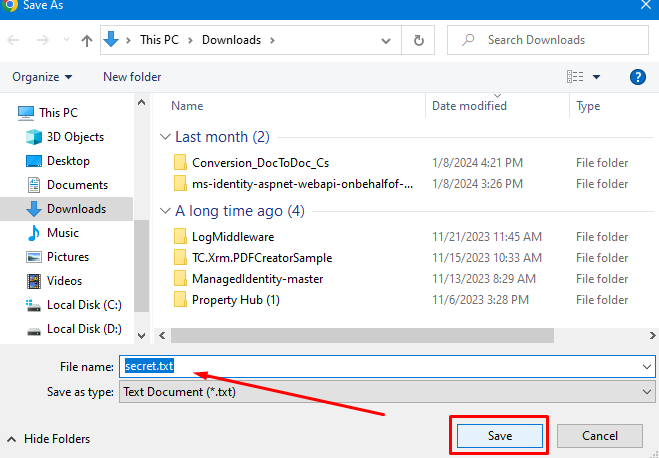
Save the secret.txt.
Now you can see the secret value that was stored in Azure Key Vault
Conclusion:
The article serves as a valuable resource for developers and DevOps teams seeking to fortify the security of their CI/CD pipelines. By seamlessly integrating Azure Key Vault secrets into Azure Pipelines through the use of Self-hosted Local Agents, the guide addresses the critical need for safeguarding sensitive information throughout the software development lifecycle. The step-by-step instructions, focusing on configuring permissions and establishing secure connections, empower users to implement a robust and efficient CI/CD workflow.
With the combined benefits of centralized secret management and enhanced control over the execution environment, the approach outlined in the article not only bolsters security measures but also contributes to a more streamlined and resilient development process. As organizations continue to prioritize security in their software delivery practices, the insights provided in this article offer a practical and effective solution for elevating the overall security posture of CI/CD pipelines in Azure DevOps.
Featured Insights
Stay Informed with ITKnocks' Latest Technical Articles
Ready to shape the future of your business? Connect with ITKnocks, your catalyst for innovation. Let’s collaborate and transform possibilities into reality. Contact us, and let the possibilities unfold!